Halloween Inspired Treats To Make At Home
One of the best parts about the Halloween season is spending a lot of time in the kitchen with the kids coming up with wacky, creative and creepy recipes for all their Halloween parties and other fun events. Why bring some boring old cookies when you can bring creepy finger cookies? Instead of the same old cupcakes, make them spooky, graveyard-themed. And forget the regular ice cream cones; make witches hats filled with sweet chocolate mousse or your favorite candies. The only limit is your imagination, so grab the kids, do a little grocery shopping and try these fun recipes for Halloween this year.
Graveyard Cupcakes

Use your favorite store-bought cupcakes or make your own. The fun is in the decorating, which can be as elaborate or as simple as you like. Spend a little time practicing the hands on a piece of parchment paper and you’ll be decorating these creepy cupcakes like a pro in no time. These are perfect for a Halloween party or even your favorite little ghoul’s lunchbox.
Ingredients
- 24 cupcakes (use a store-bought to simplify, or make your favorite kind)
- White melting chocolate
- Crushed Oreo cookies
- Chocolate frosting
- Parchment paper
- Light blue or green powdered food coloring
Directions
- Melt the white chocolate in the microwave or on a double-boiler until soft and smooth.
- Take your store-bought (or cooled homemade) cupcakes and spread a thin layer of chocolate frosting on each top.
- While the chocolate is melting, gently roll the frosting in the crushed Oreo cookies to simulate dirt.
- Spoon the melted chocolate into a sandwich bag and cut off one end to use as a piping bag.
- On a piece of parchment paper, pipe the white chocolate out into the shape of hands, making sure to include a little extra length for the arms. You’ll need to work fairly fast, as it does solidify quickly.
- Before the hands are completely dry, lightly dust them with the powdered food coloring (grey or green are good choices!) to give them that creepy “zombie” skin look, then let them dry.
- Once the hands are dry, gently poke two of them into each cupcake, so it looks like the hands are coming up out of the dirt “grave.”
Sugar Cookie Fingers
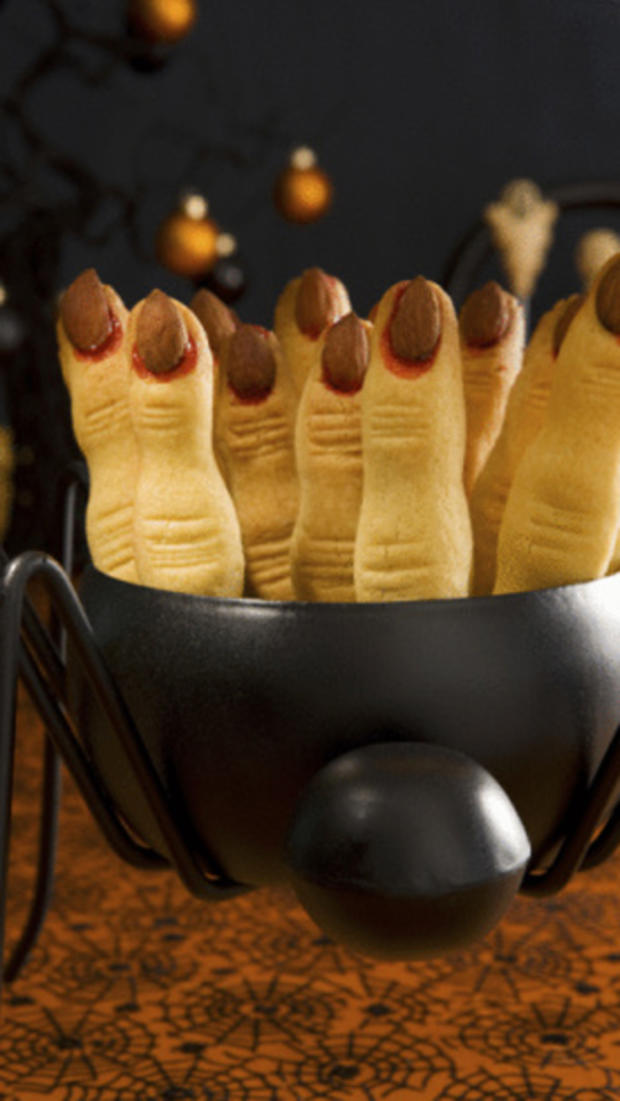
This is a simple twist on a classic sugar cookie recipe. With just a little extra time and attention, you can have your little Halloween partiers munching on these delicious fingers all night long. This is a lot of fun to do with the kids as well, so get the whole family together to make these cookies.
Ingredients
- 3 cups all-purpose flour
- ¾ teaspoon baking powder
- ¼ teaspoon salt
- 1 cup unsalted butter
- 1 cup sugar
- 1 egg
- 1 tablespoon milk
- Sliced almonds
Directions
- Sift the flour, baking powder and salt together and set aside.
- Beat the butter and sugar until well blended.
- Add the egg and milk into the butter/sugar mixture and beat until combined.
- Slowly add the flour, a little bit at a time, until it is all combines.
- Divide your finished dough into two large balls and wrap with waxed paper.
- Refrigerate for at least two hours.
- Preheat oven to 375 degrees.
- Sprinkle your work surface with flour.
- Roll out one ball of dough until it is about ½ inch thick. You are making these a lot thicker than traditional sugar cookies because fingers are so much thicker.
- Once your dough is rolled out, use a butter knife to cut out finger shapes.
- Transfer the fingers to a greased baking sheet.
- Use your butter knife to make small lines in each finger to look like knuckles.
- Take one slice of almond and place it at the top of each finger to look like the finger nail.
- Bake at 375 for seven to nine minutes or until the cookies are just starting to brown on the edges.
Witches Hat Cones
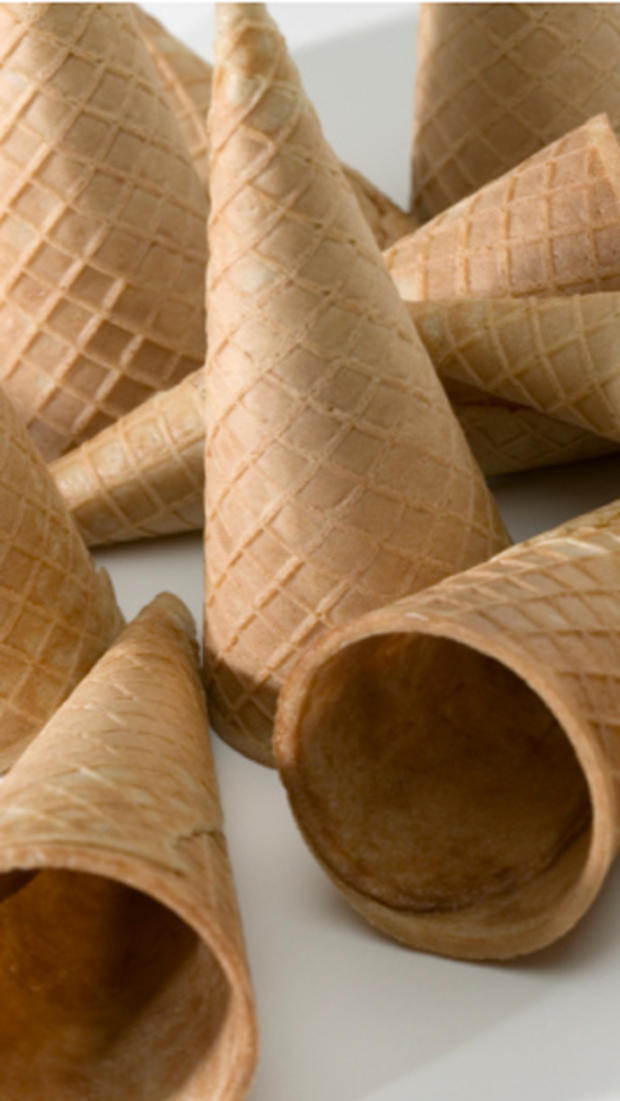
Inspired by these great treats by Martha Stewart, these are a little easier and more fun for the kids to dive into. The best part is that you can fill them with anything you like. If your kids don’t enjoy chocolate mouse, try their favorite ice cream, candy or even whipped cream mixed with a little bit of flavored gelatin. There is no wrong way to fill these fun witches hats, plus the kids will have a blast decorating them to look like their favorite spooky witch.
Ingredients
- 2 cups heavy whipping cream
- 1 cup milk chocolate chips
- 1 cup semisweet mini-chocolate chips
- 1 teaspoon shortening
- 1 package ice cream sugar cones
- Orange, black and purple frosting, sprinkles and small candies
- 12 thin chocolate cookies (about two and a half inches in diameter)
Directions
- In a small saucepan, bring ½ cup cream to a boil.
- Remove from heat and stir in the milk chocolate chips until melted and smooth.
- Transfer to a bowl, cooling and stirring occasionally.
- In a separate bowl, beat the rest of the cream until you have stiff peaks.
- Fold the chocolate into the cream, cover and refrigerate.
- Melt the semi-sweet chocolate chips and shortening in the microwave until smooth.
- Use a food-safe brush to brush the chocolate over the cones.
- Roll the top of each cone in Halloween colored sprinkles, or use the frosting to decorate the “hat”
- Fill each cone with the mouse mixture and top with the chocolate wafer.
- Turn the hats upside down, pointed end of the cone facing up, and use the rest of the frosting and sprinkles to decorate.
Deborah Flomberg is a theater professional, freelance writer and Denver native. Her work can be found at Examiner.com.